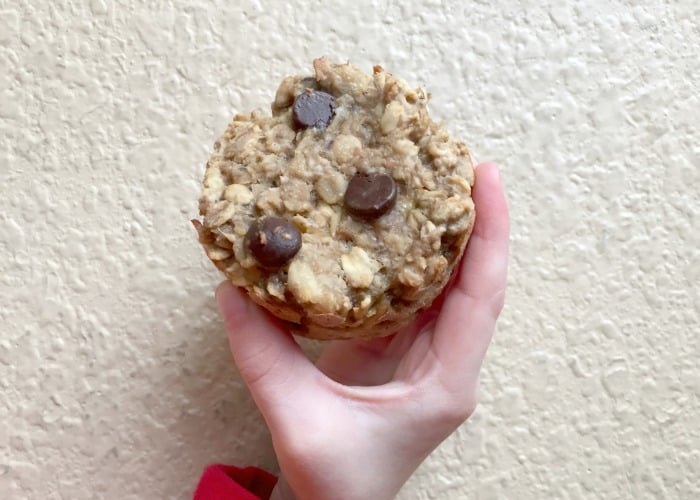
Breakfast Oatmeal Muffins
Happy New Year! I hope you had a Merry Christmas! Today I am sharing an easy to make breakfast that is perfect for a busy morning, breakfast oatmeal muffins. They are little cups of baked oatmeal goodness. Breakfast is my very favorite meal of the day and since doing the Elimination Diet last year many…